CRUD With Django
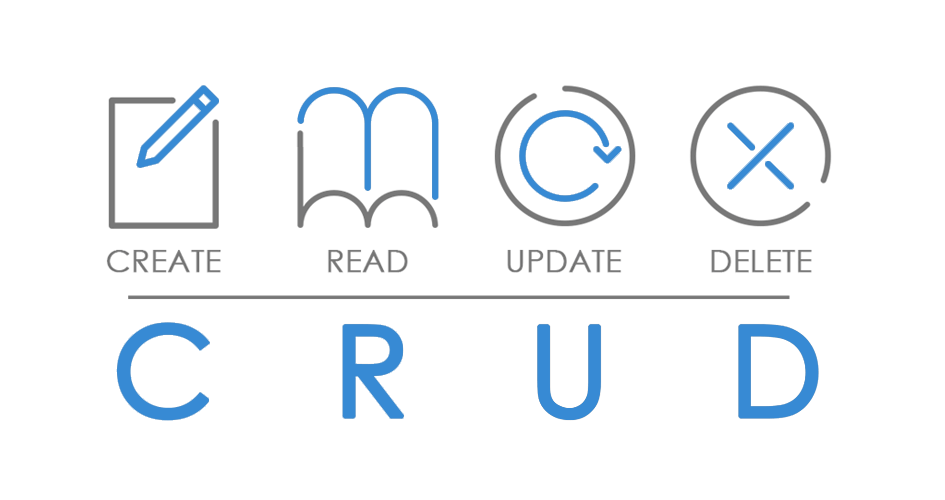
CRUD is an acronym that stands for Create, Read, Update, and Delete. It represents the basic operations that can be performed on data in a software application or database:
-
Create: This operation involves adding new data or records to a system. For example, creating a new user account, adding a new product to an inventory, or inserting a new entry in a database table.
-
Read: Reading refers to retrieving or viewing existing data from the system. Users can access and view information stored in the application, such as reading a user’s profile, viewing a list of products, or displaying the contents of a document.
-
Update: Updating involves modifying or editing existing data. Users can change the values of specific fields or attributes associated with a record. For instance, updating a user’s email address, editing the content of a document, or modifying product details.
-
Delete: The Delete operation is used to remove data or records from the system. It allows users to eliminate information that is no longer needed or relevant, such as deleting a user account, removing a comment from a post, or deleting a file.
CRUD operations are essential for managing and manipulating data in software applications, and they provide a standard framework for interacting with databases and resources. These operations are a fundamental part of many web and mobile applications, content management systems, and database-driven software systems.
Implementing CRUD (Create, Read, Update, Delete) operations in Django involves creating views, models, templates, and URL patterns to handle the actions related to managing data in your application. Below is a step-by-step guide on how to implement CRUD functionality in Django:
-
Create a Django Project and App: If you haven’t already, create a Django project using
django-admin startproject projectnameand create a Django app within the project usingdjango-admin startapp appname. -
Define Your Model: In your app’s
models.pyfile, define the data model you want to work with. For example, if you’re building a simple blog application, your model might look like this:from django.db import models class Post(models.Model): title = models.CharField(max_length=200) content = models.TextField() def __str__(self): return self.title -
Create and Apply Migrations: Run
python manage.py makemigrationsto create migration files based on your model changes and then runpython manage.py migrateto apply those migrations to your database. -
Create Views: In your app’s
views.py, create views for each CRUD operation. Here’s an example for creating, reading, updating, and deleting blog posts:from django.shortcuts import render, get_object_or_404, redirect from .models import Post from .forms import PostForm # Create a form for creating and updating posts def post_list(request): posts = Post.objects.all() return render(request, 'appname/post_list.html', {'posts': posts}) def post_detail(request, pk): post = get_object_or_404(Post, pk=pk) return render(request, 'appname/post_detail.html', {'post': post}) def post_create(request): if request.method == 'POST': form = PostForm(request.POST) if form.is_valid(): post = form.save() return redirect('post_detail', pk=post.pk) else: form = PostForm() return render(request, 'appname/post_form.html', {'form': form}) def post_edit(request, pk): post = get_object_or_404(Post, pk=pk) if request.method == 'POST': form = PostForm(request.POST, instance=post) if form.is_valid(): post = form.save() return redirect('post_detail', pk=post.pk) else: form = PostForm(instance=post) return render(request, 'appname/post_form.html', {'form': form}) def post_delete(request, pk): post = get_object_or_404(Post, pk=pk) if request.method == 'POST': post.delete() return redirect('post_list') return render(request, 'appname/post_confirm_delete.html', {'post': post}) -
Create Forms (Optional): You can create forms using Django’s
ModelFormor regular forms to handle data input for creating and updating records. For the example above, you’d create a form in your app’sforms.py:from django import forms from .models import Post class PostForm(forms.ModelForm): class Meta: model = Post fields = ['title', 'content'] -
Create Templates: Create HTML templates for each view (e.g.,
post_list.html,post_detail.html,post_form.html,post_confirm_delete.html) and place them in your app’stemplates/appname/directory. -
Define URL Patterns: In your app’s
urls.py, define URL patterns for each view:from django.urls import path from . import views urlpatterns = [ path('', views.post_list, name='post_list'), path('post/<int:pk>/', views.post_detail, name='post_detail'), path('post/new/', views.post_create, name='post_create'), path('post/<int:pk>/edit/', views.post_edit, name='post_edit'), path('post/<int:pk>/delete/', views.post_delete, name='post_delete'), ] -
Include App URLs in Project URLs: Include your app’s URLs in your project’s
urls.py:from django.contrib import admin from django.urls import path, include urlpatterns = [ path('admin/', admin.site.urls), path('appname/', include('appname.urls')), # Replace 'appname' with your app's name ] -
Run the Development Server: Start the Django development server using
python manage.py runserverand access your CRUD functionality through the defined URLs.
Now you have a basic setup for implementing CRUD operations in your Django application. You can expand upon this by adding more complex features and validations as needed for your specific project.